")

Ever find yourself jolting awake, heart pounding, convinced you heard your baby cry out, only to find a peacefully sleeping child? It’s a common experience for new parents, and the constant worry can disrupt your sleep and make you feel exhausted. The anxiety about your baby’s well-being can take a toll on your mental and emotional health.
Baby monitors, one of the essential baby tech products, offer a valuable solution, bringing peace of mind and helping you get much-needed rest. You can check on your child visually or with sound, without disrupting their sleep. However, setting up your baby monitor incorrectly can lead to more headaches than help. Faulty setups can mean poor reception, interference, and missed alerts.
Learn the right way to set up and install your baby monitor. Take advantage of this fantastic technology, gaining stress-free vigilance over your little one. Follow these steps for effective setup and optimal results for improved sleep and reduced anxiety.
Unboxing And Understanding Your Equipment
Before you dive into the setup process, familiarize yourself with your equipment. Open the box and identify all the components, which typically include:
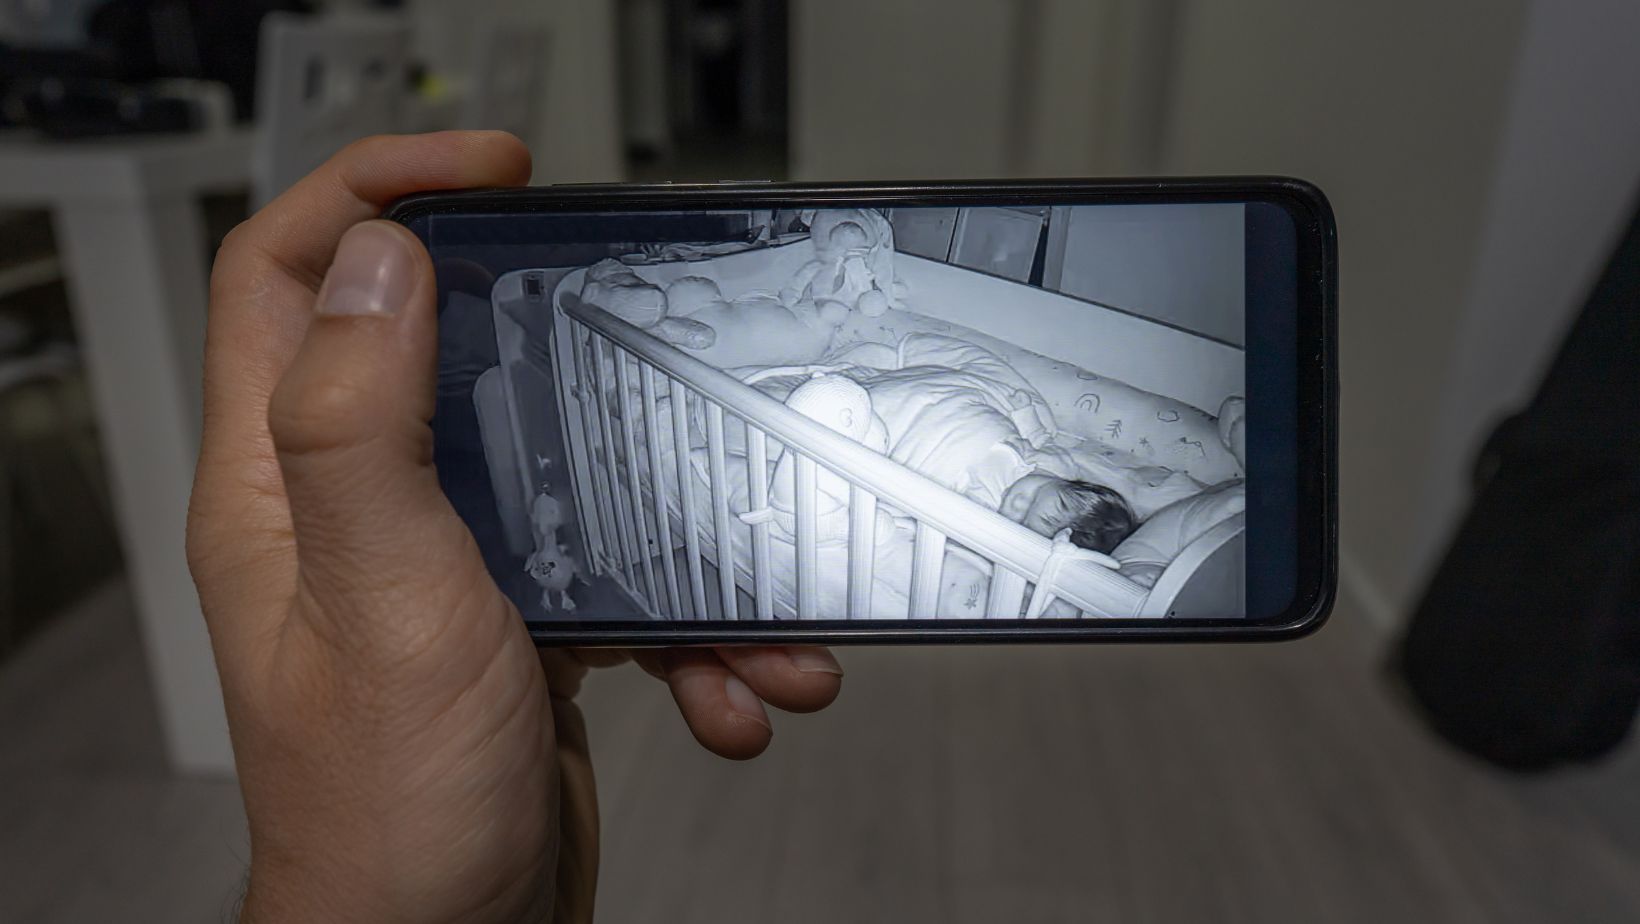
- Parent unit: This is the handheld device you’ll use to view or listen to your baby. Some brands, like the LeapFrog smart baby monitor, feature remote access via smartphone and tablet, on top of the parental unit. This allows you to monitor your baby even when outside the house.
- Camera(s): The camera transmits video or audio signals to your parent unit.
- Power adapters: These provide power to both your parent unit and the camera.
- Mounting hardware: Depending on your setup, you might find screws, brackets, or adhesives for mounting the camera.
Read the Manual
Every baby monitor type and model has its own unique setup process and features. Don’t skip reading the instruction manual that came with your device. While there may be general similarities between monitors, following the manufacturer’s specific instructions is crucial. The manual will provide the most accurate guidance for your specific model, helping you avoid costly mistakes or frustrations.
The instructions also help you identify additional components or familiarize yourself with any unique features specific to your monitor. Taking the time for this now will save you potential headaches later in the setup process.
Setting Up The Camera
This stage of the process is often where issues and complications can arise.
Power Source
Most baby monitors come with a power adapter as the primary power source. Plug the adapter into an electrical outlet near your chosen camera location.
Some monitors also have the option for using compatible batteries. Batteries can be handy for short-term power outages or if you want greater flexibility to move your camera. Always check your monitor’s documentation for the approved battery type.
Mounting
Choose the perfect spot for your camera based on your room layout. Here are some mounting options:
- Wall-mounting: Many monitors come with mounting hardware for this option. If drilling holes in your wall is possible, make sure you mount the camera high enough and out of your baby’s reach. Secure the camera firmly to prevent it from falling.
- Shelf placement: You can place the camera on a sturdy shelf overlooking your baby’s crib. Place the monitor far enough back on the shelf that it can’t easily be knocked over. It’s essential to consider any curious older siblings in the house who might access the shelf.
- Flexible attachments: Some monitors offer flexible attachments or clamps. These can often be used to attach the camera to the crib rail or other furniture. Keep in mind, with this option, ensure the device is fixed securely. If your baby can remove the monitor, this becomes a safety risk.
Camera Angle
Finding the optimal camera angle is essential. Start by placing the camera, then turn on your parent unit. Check the screen or speaker while adjusting the camera’s angle. Your goal is to gain a clear, unobstructed view of your baby in their crib or sleeping area.
Setting Up the Parent Unit
Your parent unit is your portal to monitoring your baby, so set it up correctly. This is generally a more straightforward process than setting up the camera itself.
Charging of Batteries
Make sure your parent unit has sufficient power before beginning the pairing and setup process. Many units operate with rechargeable batteries. Ensure your batteries are fully charged for the optimal initial configuration.
Some parent units can also operate using compatible standard batteries. Check your manual for the approved battery type if you prefer disposable batteries as an alternative power source.
Pairing Procedures
If your monitor’s components weren’t pre-paired, you’ll need to link the camera to your parent unit. The specific pairing instructions vary depending on the monitor. The instruction manual will outline the necessary steps. Often, this involves pressing a dedicated pairing button on your parent unit and the camera. Your instruction manual might refer to this process as “syncing” the devices.
Customizing Settings
Take some time to explore the available settings on your parent unit. Here are common settings you can personalize:
- Volume: Adjust the volume to ensure you easily hear your baby’s sounds.
- Brightness: If you have a video monitor, adjust the screen brightness to your preference.
- Alert sensitivities: Some monitors may allow you to set sensitivity thresholds for sounds or movements.
- Other features: Your settings menu will provide control over additional features like zoom, lullabies, nightlights, and other options based on your specific monitor.
It’s worth spending some time customizing the settings now. Having your monitor calibrated to your preferred settings will prevent potential frustrations at a later time.
Conclusion
By taking the time to correctly set up and install your baby monitor, you’ll experience true peace of mind. Enjoy having constant vigilance over your child while minimizing unnecessary anxieties. You’ll get better rest, enjoy reduced stress, and feel more equipped for the demands of parenting. Remember that this technology should enhance your parenting experience, not add complexities.
Jessica has a flair for writing engaging blogs and articles. She enjoys reading and learning new things which enables her to write different topics and fields with ease. She also strives to break down complex concepts and make them easy for anybody to comprehend.
Related posts:
 Unraveling the Mysteries of English Grammar: Which Sentence Correctly Uses Parallel Structure
 Which Sentence Uses The Underlined Word Correctly? Your Ultimate Guide to Mastering Grammar
 Which of the Following Correctly Organizes These Genetic Terms in Order from Smallest to Largest? The Human Genome Project
 How Can I Monitor My Child’s Text Messages Remotely